
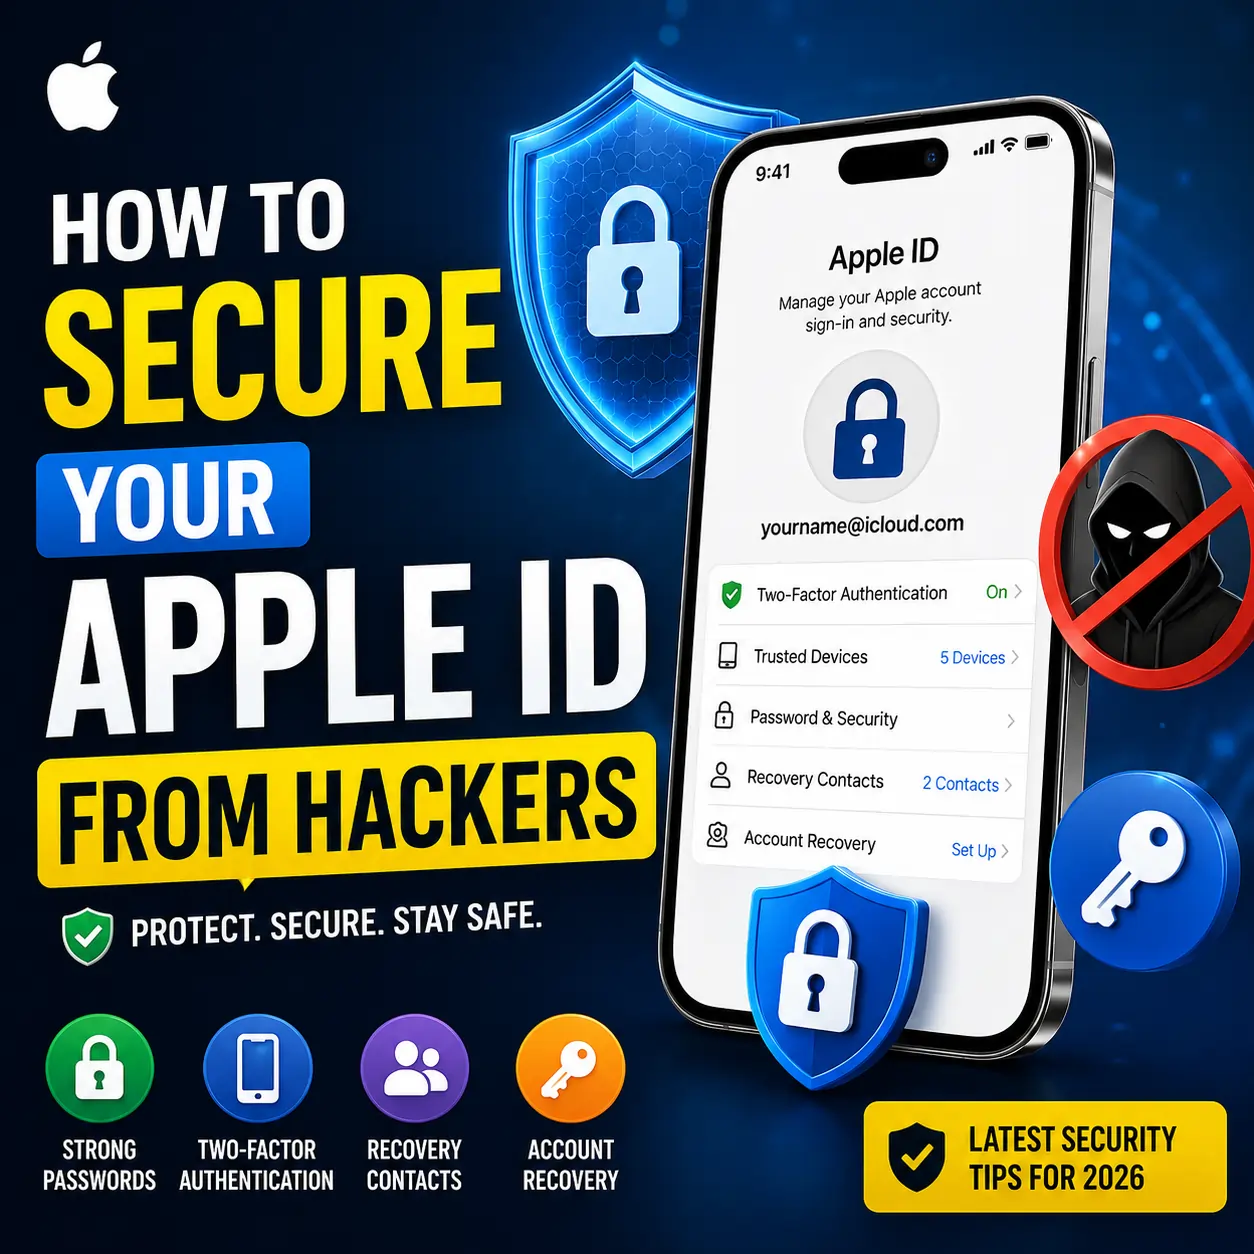
How to Secure Your Apple ID From Hackers in 2026
Your Apple ID is the single key that opens your iCloud photos, your Messages, your payment methods, and often your entire digital life. If you’re wondering how to secure your Apple ID from hackers, the good news is that Apple has built genuinely strong tools for this — passkeys, Advanced Data Protection, Stolen Device Protection — but almost nobody uses all of them correctly, and scammers in 2026 have gotten noticeably better at working around the basics.
This guide walks through exactly what to turn on, what each setting actually protects, and the newest scam patterns worth knowing about, including one that abuses Apple’s own servers to send phishing emails that look completely legitimate.
How Apple IDs Actually Get Compromised in 2026
Most people picture “getting hacked” as someone breaking into their iPhone directly. In practice, that’s rare. What actually happens far more often is an Apple ID takeover — someone gets access to your account credentials or your trusted recovery information, then uses that to reach everything synced to it.
Credential Reuse and Data Breach Leaks
If you’ve ever reused your Apple ID password on another site that later got breached, that password is likely sitting in a leaked database somewhere. Attackers run these leaked lists against Apple’s sign-in page automatically, hoping for a match.
Phishing and “Callback” Scams
A message arrives claiming unusual account activity or a suspicious purchase, urging you to call a number or click a link. The goal isn’t to hack anything technically — it’s to get you to hand over your password or verification code voluntarily. We’ll go deeper on this below, because the 2026 versions of this scam are unusually convincing.
SIM Swapping and Trusted Number Takeover
If an attacker convinces your mobile carrier to move your number to their SIM card, they can potentially intercept SMS-based verification codes. This is one reason Apple pushes app-based and device-based verification over SMS wherever possible.
Physical Device Theft With a Known Passcode
If someone watches you type your passcode in public and then steals your phone, they historically had a short window to change your Apple Account password and lock you out entirely. This is the exact scenario Stolen Device Protection was built to close.
Note: Most “iCloud hacking” headlines you read are really Apple ID takeovers, not some exotic iCloud server breach. Apple’s cloud infrastructure itself has held up well; the weak point is almost always credentials, recovery details, or social engineering.
Step 1: Lock Down Sign-In — Passwords, Passkeys, and Two-Factor Authentication
This is the foundation. Everything else in this guide assumes these basics are already in place.
Two-Factor Authentication Is Not Optional
Two-factor authentication (2FA) means that signing in on a new device requires both your password and a verification code sent to a device you already trust. Even if someone steals your password, they can’t get in without physical access to one of your trusted devices.
To check that it’s on:
- Open Settings, tap your name at the top.
- Tap Sign-In & Security.
- Confirm Two-Factor Authentication is turned on.
If it isn’t, turn it on now — Apple requires it for most modern account features anyway, including passkeys and Advanced Data Protection. Apple’s own Apple Account security recommendations list this as the first thing to check before anything else on this page.
Passkeys, Explained Simply
A passkey replaces your password with a cryptographic key pair generated by your device. One half stays locked inside your iPhone’s Secure Enclave and never leaves it; the other half sits on the website’s server, and it isn’t a secret worth stealing on its own. When you sign in, your device proves it holds the private key using Face ID or Touch ID, without ever sending anything a scammer could intercept and reuse.
That’s why Apple describes passkeys as phishing-resistant: there’s no password to trick you into typing into a fake site, because there’s no password at all.

Security Keys vs. Passkeys vs. Recovery Keys — Don’t Mix These Up
Apple’s own support community gets this wrong constantly, so it’s worth being precise:
| Term | What it actually is | What it protects against |
|---|---|---|
| Passkey | A cryptographic credential replacing a password for signing into websites and apps | Password theft and phishing |
| Security Key | A physical hardware key (like a YubiKey) added as your second factor for Apple ID sign-in | Targeted phishing and account takeover attempts |
| Recovery Key | A 28-character code used to regain access to your Apple Account if you’re locked out | Being permanently locked out of your account |
If you’re a high-risk target — a journalist, executive, or activist — a physical security key is worth the setup friction. For most people, passkeys plus 2FA already cover the majority of real-world risk.
Step 2: Protect the Device Itself
Account-level protection only goes so far if the physical device is compromised too.
Passcode and Biometric Hygiene
Use an alphanumeric passcode rather than a simple 4-digit one where possible, and don’t let Face ID or Touch ID convenience make you careless about who’s watching you type your passcode in public.
Stolen Device Protection
This is one of the more genuinely clever features Apple has shipped in the last few years, and it directly addresses the “watched someone type their passcode, then stole the phone” attack.
When Stolen Device Protection is on and your iPhone is away from familiar locations like home or work:
- Sensitive actions (viewing saved passwords, changing your Apple Account password) require Face ID or Touch ID — with no passcode fallback at all.
- Especially critical changes, like updating your Apple Account password or removing a trusted device, trigger a one-hour Security Delay: you authenticate, wait an hour, then authenticate again before the change goes through.
That hour matters. It’s enough time for the real owner to notice the phone is missing and put it into Lost Mode before a thief can lock them out for good.
Apple’s Stolen Device Protection documentation confirms this security delay applies specifically to actions like changing your Apple Account password or updating trusted devices — not everyday app usage, so it shouldn’t get in your way day to day.
To turn it on: Settings → Face ID & Passcode → enter passcode → Stolen Device Protection → turn on.
Tip: If you find the one-hour delay triggering at home, your iPhone likely hasn’t fully learned your “familiar locations” yet — this is common on a newly restored device and usually resolves within a few days of normal use.
Lockdown Mode for High-Risk Users
If you have specific reason to believe you might be targeted by sophisticated, individually-tailored attacks — not everyday phishing, but nation-state-grade surveillance attempts — Lockdown Mode restricts message attachments, complex web technologies, and certain connections that have historically been abused in these attacks. It’s not meant for everyday use, but it exists for the small number of people who genuinely need it.
Keep Software Updated
Software updates aren’t just new features. Several iOS 26 point releases patched actively exploited vulnerabilities, and staying current closes those doors as soon as they’re known. Turn on automatic updates under Settings → General → Software Update.
While you’re auditing your settings, it’s worth checking a few other hidden iPhone features worth enabling that touch privacy and security beyond what’s covered here.
Step 3: Protect Your Data With Advanced Data Protection
Two-factor authentication and passkeys protect who can sign in. Advanced Data Protection protects what happens to your data once someone’s inside your account — or if Apple’s own servers were ever breached.
What It Actually Encrypts
With standard protection, Apple holds the encryption keys for most of your iCloud data, which is how they can help you recover it if you’re ever locked out. Advanced Data Protection (ADP) changes that: your trusted devices become the only holders of the encryption keys for the majority of your iCloud data, including backups, Photos, and Notes. Not even Apple can decrypt it.
That’s a real security upgrade — and a real responsibility. Apple’s own Advanced Data Protection setup guide is direct about this: if you lose access to your account and don’t have a recovery method set up, nobody, including Apple, can get your data back.
Recovery Key vs. Recovery Contact — Which Should You Choose
| Option | How it works | Best for |
|---|---|---|
| Recovery Key | A 28-character code you generate and store yourself (never in Notes, Photos, or iCloud Drive) | People comfortable managing a physical backup, like a printed copy in a safe |
| Recovery Contact | Someone you trust helps you regain access; neither they nor Apple alone can unlock your data | People who want a human safety net instead of managing a code |
You can set up both, and Apple lets you use either one to recover your account if you ever need to.
Warning: If you enable Advanced Data Protection and later lose every recovery method — no recovery key, no working recovery contact — your data is genuinely unrecoverable. This isn’t a scare tactic; it’s how the encryption is designed to work.
To turn it on: Settings → [your name] → iCloud → Advanced Data Protection → Turn On, and follow the prompts to set up a recovery method first if you haven’t already.
It’s worth noting that Apple Intelligence’s own architecture leans on similar privacy principles — requests that need more processing power than your iPhone can handle are routed through Private Cloud Compute, which is built so that even Apple can’t see what was sent. If you’re curious how that fits together with the rest of Apple’s AI rollout, our Apple Intelligence features guide covers what’s shipping now versus what’s still on the roadmap.
Step 4: Recognize the Latest Apple ID Phishing Tactics (2026)
This is the section most guides get wrong, because most of them are describing phishing tactics from a few years ago. The scams currently circulating are more convincing, and one of them specifically breaks the oldest piece of security advice there is: “check the sender’s email address.”
The “Legitimate Apple Email” Scam
In April 2026, security researchers documented a campaign where scammers created a real Apple ID, then stuffed phishing copy — fake purchase alerts and a phone number — into the account’s first and last name fields. When the attacker then edited that account’s shipping address, Apple’s own system automatically sent out a genuine change-notification email, which included those name fields. The result: an email that actually comes from Apple’s real mail servers, passes every authentication check, and still contains the scammer’s message.
This means the classic advice to “verify the sender’s address” no longer catches everything. What still works:
- Never call a phone number provided inside an unexpected email or text — go to Apple’s site or app directly instead.
- Be suspicious of urgency and dollar amounts designed to trigger panic (“$899 iPhone purchased,” “act now”).
- Watch for inconsistent formatting, odd hyphenation, or generic greetings like “Dear User” — legitimate Apple notifications are consistently clean and address you by account details, not vague labels.
Apple’s own guide to recognizing social engineering scams lists these same tells and is worth bookmarking — it’s updated as new tactics emerge.
MFA-Bombing and Fake Apple Support Callbacks
A more targeted version of this attack floods a specific person with repeated password-reset prompts, hoping they’ll eventually tap “Allow” out of fatigue or confusion. When that fails, some attackers have gone as far as social-engineering real Apple Support agents to generate authentic-looking case emails, then building a near-identical fake support site to continue the con over the phone.
If you ever get an unexpected wave of sign-in or reset requests you didn’t trigger, don’t approve any of them — go straight to your device’s Settings to check activity, and consider changing your password from a device you already trust.
The “Apple High Alert” Scam
This one leans purely on urgency. Messages — by call, text, email, or even a browser pop-up — use language like “Security Breach Detected” or “Your iPhone Has Been Compromised” to pressure you into acting before you think. Apple doesn’t communicate this way. Treat any message built entirely around panic as a red flag regardless of how official it looks.
Common Apple ID Scam Warning Signs
| Warning Sign | What It Usually Means |
|---|---|
| Urgent language demanding an immediate call or click | Social engineering, not a real Apple alert |
| A phone number embedded in the message itself | Apple never asks you to call a number from an email or text |
| Requests for your password or verification code | Apple never asks for either, under any circumstance |
| Generic greetings like “Dear User” | Real Apple emails typically reference your actual account details |
| Odd punctuation, hyphenation, or grammar | Common in scam copy stuffed into unrelated fields |
Step 5: Monitor and Audit Your Apple ID Regularly
Security isn’t a one-time setup. It’s worth building a short, recurring habit around it.
Review Trusted Devices
Go to Settings → [your name] and scroll to your device list. If you see anything you don’t recognize, remove it — this immediately blocks that device from displaying verification codes or accessing iCloud until it signs in again.
Confirm Your Recovery Information Is Current
Make sure the phone number and email tied to your account are ones you actually still control. An old number you no longer use is a silent vulnerability.
Set a Recurring Check-In
Every three to six months, walk through your device list, password, and recovery settings — especially right after a major iOS update, since new protections sometimes require a quick opt-in.
Apple ID Security Checklist
- [ ] Two-factor authentication is turned on
- [ ] A passkey is set up for Apple ID sign-in where supported
- [ ] Passcode is strong, not a simple 4-digit code
- [ ] Stolen Device Protection is turned on
- [ ] Advanced Data Protection is enabled, with a recovery key or recovery contact set up first
- [ ] Trusted device list has been reviewed for anything unrecognized
- [ ] Recovery phone number and email are current
- [ ] Automatic software updates are turned on
- [ ] You know never to call a number from an unexpected “Apple” message
Mistakes to Avoid
- Sharing your Apple ID with family members. Even people you trust completely shouldn’t share a single account — it multiplies your exposure and makes unusual activity harder to spot.
- Ignoring “new sign-in” notifications. These exist specifically to catch unauthorized access early. A notification you don’t recognize deserves immediate action, not a dismissal.
- Relying only on SMS-based verification where an app-based or device-based option is available — SMS is the weakest link if a SIM swap happens.
- Storing your recovery key inside Notes, Photos, or iCloud Drive. If you lose account access, you’d need the very account you’re locked out of to retrieve it.
- Trusting caller ID or a polished-looking email at face value. As the 2026 phishing campaigns show, “it looks official” is no longer a reliable test.
Frequently Asked Questions
Can my Apple ID be hacked even with two-factor authentication enabled?
It’s much harder, but not theoretically impossible — mainly through sophisticated social engineering that convinces you to approve a request yourself, or through SIM-swap attacks on SMS-based codes. This is exactly why passkeys and app-based verification are stronger than SMS alone.
What’s the difference between a passkey and a security key?
A passkey is a cryptographic credential built into your device and verified with Face ID or Touch ID. A security key is a separate physical hardware device you plug in or tap as your second authentication factor. Both are strong; a physical security key adds an extra layer for people facing targeted attacks.
What happens if I lose my Apple ID recovery key?
If you’ve enabled Advanced Data Protection and lose your only recovery key with no recovery contact set up, Apple has no way to help you recover your encrypted data. This is why setting up more than one recovery method is worth the ten minutes it takes.
Is setting up a recovery contact safe?
Yes — Apple’s system is designed so that neither Apple nor your recovery contact can access your data individually; both pieces of information are required together, and there are safeguards against a recovery contact initiating access without your consent.
What should I do if I get a suspicious “Apple ID” email or text?
Don’t click any links or call any numbers included in the message. Go directly to account.apple.com or open Settings on your device to check for real alerts, and report anything suspicious through Apple’s official channels.
Does Apple Intelligence create new privacy risks for my Apple ID?
Apple has built Apple Intelligence around on-device processing first, with more demanding requests routed through Private Cloud Compute — a system specifically designed so that even Apple can’t retain or access what’s sent. It’s a different risk category from account security, but worth understanding if privacy is a priority for you.
Conclusion
Securing your Apple ID from hackers in 2026 isn’t about any single setting — it’s about layering several of them: strong sign-in with 2FA and passkeys, device-level protection through Stolen Device Protection, data-level protection through Advanced Data Protection, and enough awareness of current phishing tactics that a convincing fake doesn’t catch you off guard.
None of this takes more than twenty minutes to set up. Go through the checklist above today, and put a reminder on your calendar to revisit it in a few months — the tactics attackers use will keep evolving, and so should the habit of checking in on your own account.


One Comment